
Install and run macOS Catalina on High Sierra using VirtualBox
Apple usually gives software upgrades for the Mac hardware for a long time. However, the MacOS Catalina has some unique hardware requirements; it can run only on Apple devices built after 2012. People who can’t afford a new Mac for the cost and many other reasons are now left with the option to continue using High Sierra. If you are one of them, we have already have a post on installing Catalina on the older Macs when it reports that it can’t be installed. That method requires you to install macOS on a separate partition, and you will get the option to boot into Catalina from startup-screen. Here is an alternative way to install macOS Catalina 10.15 on High Sierra Mac using Virtualbox.
Install macOS Catalina 10.15 on High Sierra using VirtualBox for Mac
Virtualbox 6 has an inbuilt profile for installing macOS up-to High Sierra 10.13 if you have the ISO file. However, most of the Mac users can use High Sierra on their system unless it is aged. The following tutorial is useful for those who already have High Sierra on their Mac but unable to upgrade to Mojave and Catalina due to hardware limitations. Virtualbox lets you install and run macOS Catalina as a guest on your Mac if you follow the steps below.
- Download and install Virtualbox for Mac here, and the extension pack, here.
- Get the Catalina offline installer to your Mac’s Applications folder, and MacOS ISO for Virtualbox (optional).
- Download Alexander’s macOS Virtualbox script from Github, here. Then extract the ZIP file to “macoscatalinavirtualbox” folder on desktop.
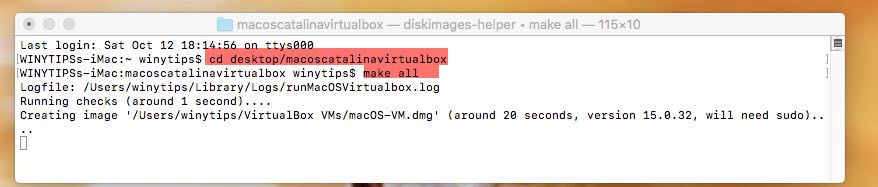
- Open Terminal app in macOS High Sierra or the host OS and run the following commands in the order.
- Install the Xcode command line developer tools when you see the prompt on the screen.
Now the script will automate the process of installing macOS Catalina on Virtualbox. However, it may require manual actions at certain steps of installation. Input the system password on Terminal if required, while it makes macOS DMG and ISO files for the virtualisation. When macOS Catalina installer ends first stage of installation, press the Enter key for removing the disc image(.CDR) from the boot order. It will cause an installation loop if you do not disconnect the Catalina ISO or CDR disc at this point.
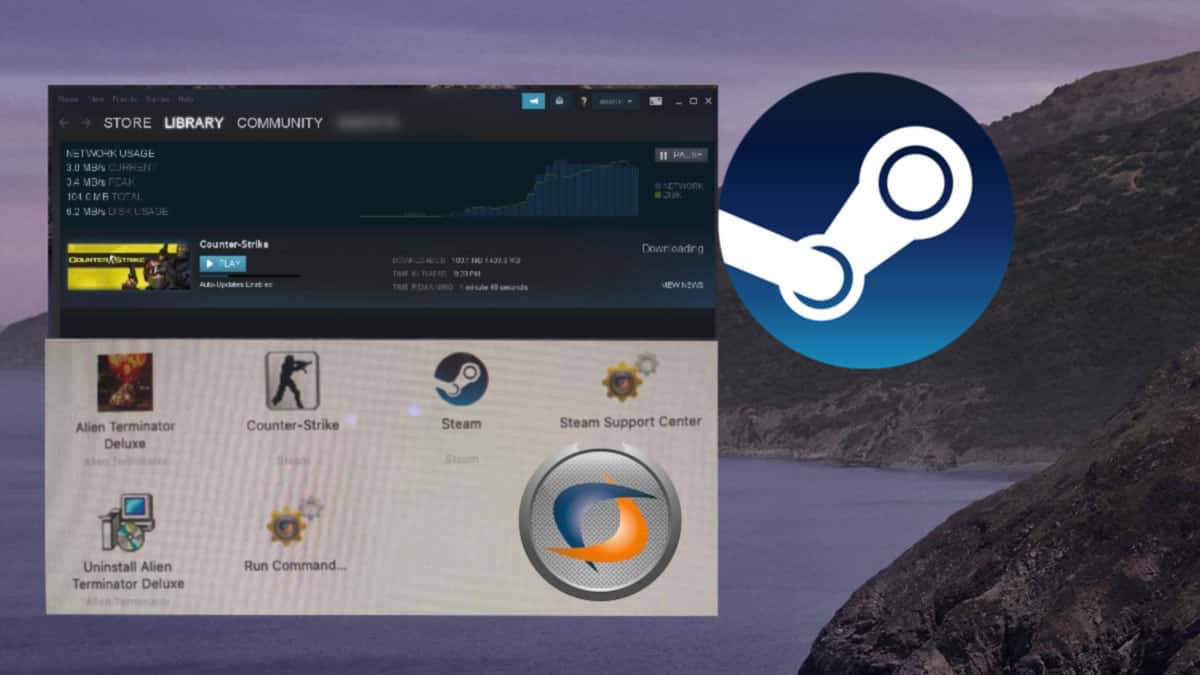
Terminal will restart the Virtualbox when you press the Enter key and final step of the macOS Catalina installation starts, and it last for about 10-15 minutes. This method for running macOS on Virtualbox may also also be used install& run 32-Bit apps on Catalina.
How to run macOS Catalina on Virtualbox
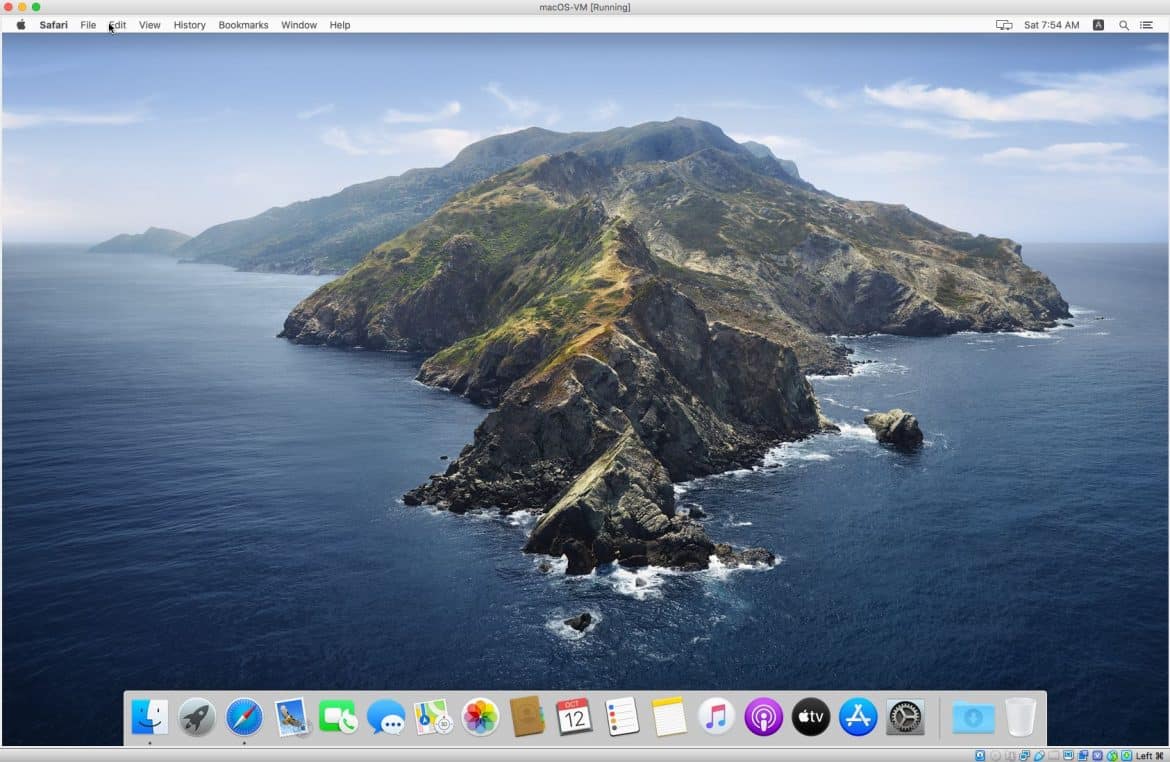
For me, it took nearly 1 hour to install macOS Catalina on Virtualbox for Mac on an SSD iMac 2011 variant. The Terminal app may look unresponsive at times, depending on your system speed. But if you follow the steps and give enough time, Virtualbox will boot into Catalina, as shown in the first image.
[embedyt] https://www.youtube.com/watch?v=iWVOJoyEyOw[/embedyt]
Check the above video to see macOS Catalina running on our Mac that has High Sierra as the primary OS. We won’t tell you how to install macOS Catalina on Virtualbox for Windows (for legal reasons), but you can, of course, use the hints here.


Hi
I have a problem… after the “Press enter to avoid install loop” (i pressed enter :-)) the vm reboots.. but then it can’t find a bootable device.. and so the rest of the installation fails.
do you have any tip / help on that? Thanks BR Juerg
Winytips in first place I’d like to thank you for this tutorial!!! In second place I definitely need help because I’m STUCK. I can’t go beyond the fourth step. It is frustrating because I always get this message when trying to run “make all”:
: command not foundx.sh: line 13:
: command not foundx.sh: line 14:
Logfile: /Users/edvandrodacruz/Library/Logs/runMacOSVirtualbox.log
: ambiguous redirect.sh: line 18: 1
: ambiguous redirect.sh: line 19: 2
: ambiguous redirect.sh: line 21: 1
: command not foundx.sh: line 23:
: command not foundx.sh: line 24:
: command not foundx.sh: line 31:
: invalid optionlbox.sh: line 33: pwd: –
pwd: usage: pwd [-LP]
: command not foundx.sh: line 61:
: command not foundx.sh: line 62:
‘/runMacOSVirtualbox.sh: line 64: syntax error near unexpected token `{
‘/runMacOSVirtualbox.sh: line 64: `debug() {
make: *** [all] Error 2
Does anyone know how can I fix this? Thanks in advance.
Not working!
Stuck on:
Booting: fs3:\System\Library\CoreServices\boot.efi …
Last login: Tue Nov 19 15:28:57 on console
Apples-iMac:~ iMac$ cd desktop/macoscatalinavirtualbox
Apples-iMac:macoscatalinavirtualbox iMac$ make all
xcode-select: note: no developer tools were found at ‘/Applications/Xcode.app’, requesting install. Choose an option in the dialog to download the command line developer tools.
Apples-iMac:macoscatalinavirtualbox iMac$ make all
Logfile: /Users/imac/Library/Logs/runMacOSVirtualbox.log
Running checks (around 1 second)….
ERROR: No macOS installer found. Opening the web page for you (press enter in the terminal when done)…
DEBUG: You can also create an installer using the script ‘installinstallmacos.py’ (use Google)…